
How to get started with Macro Photography
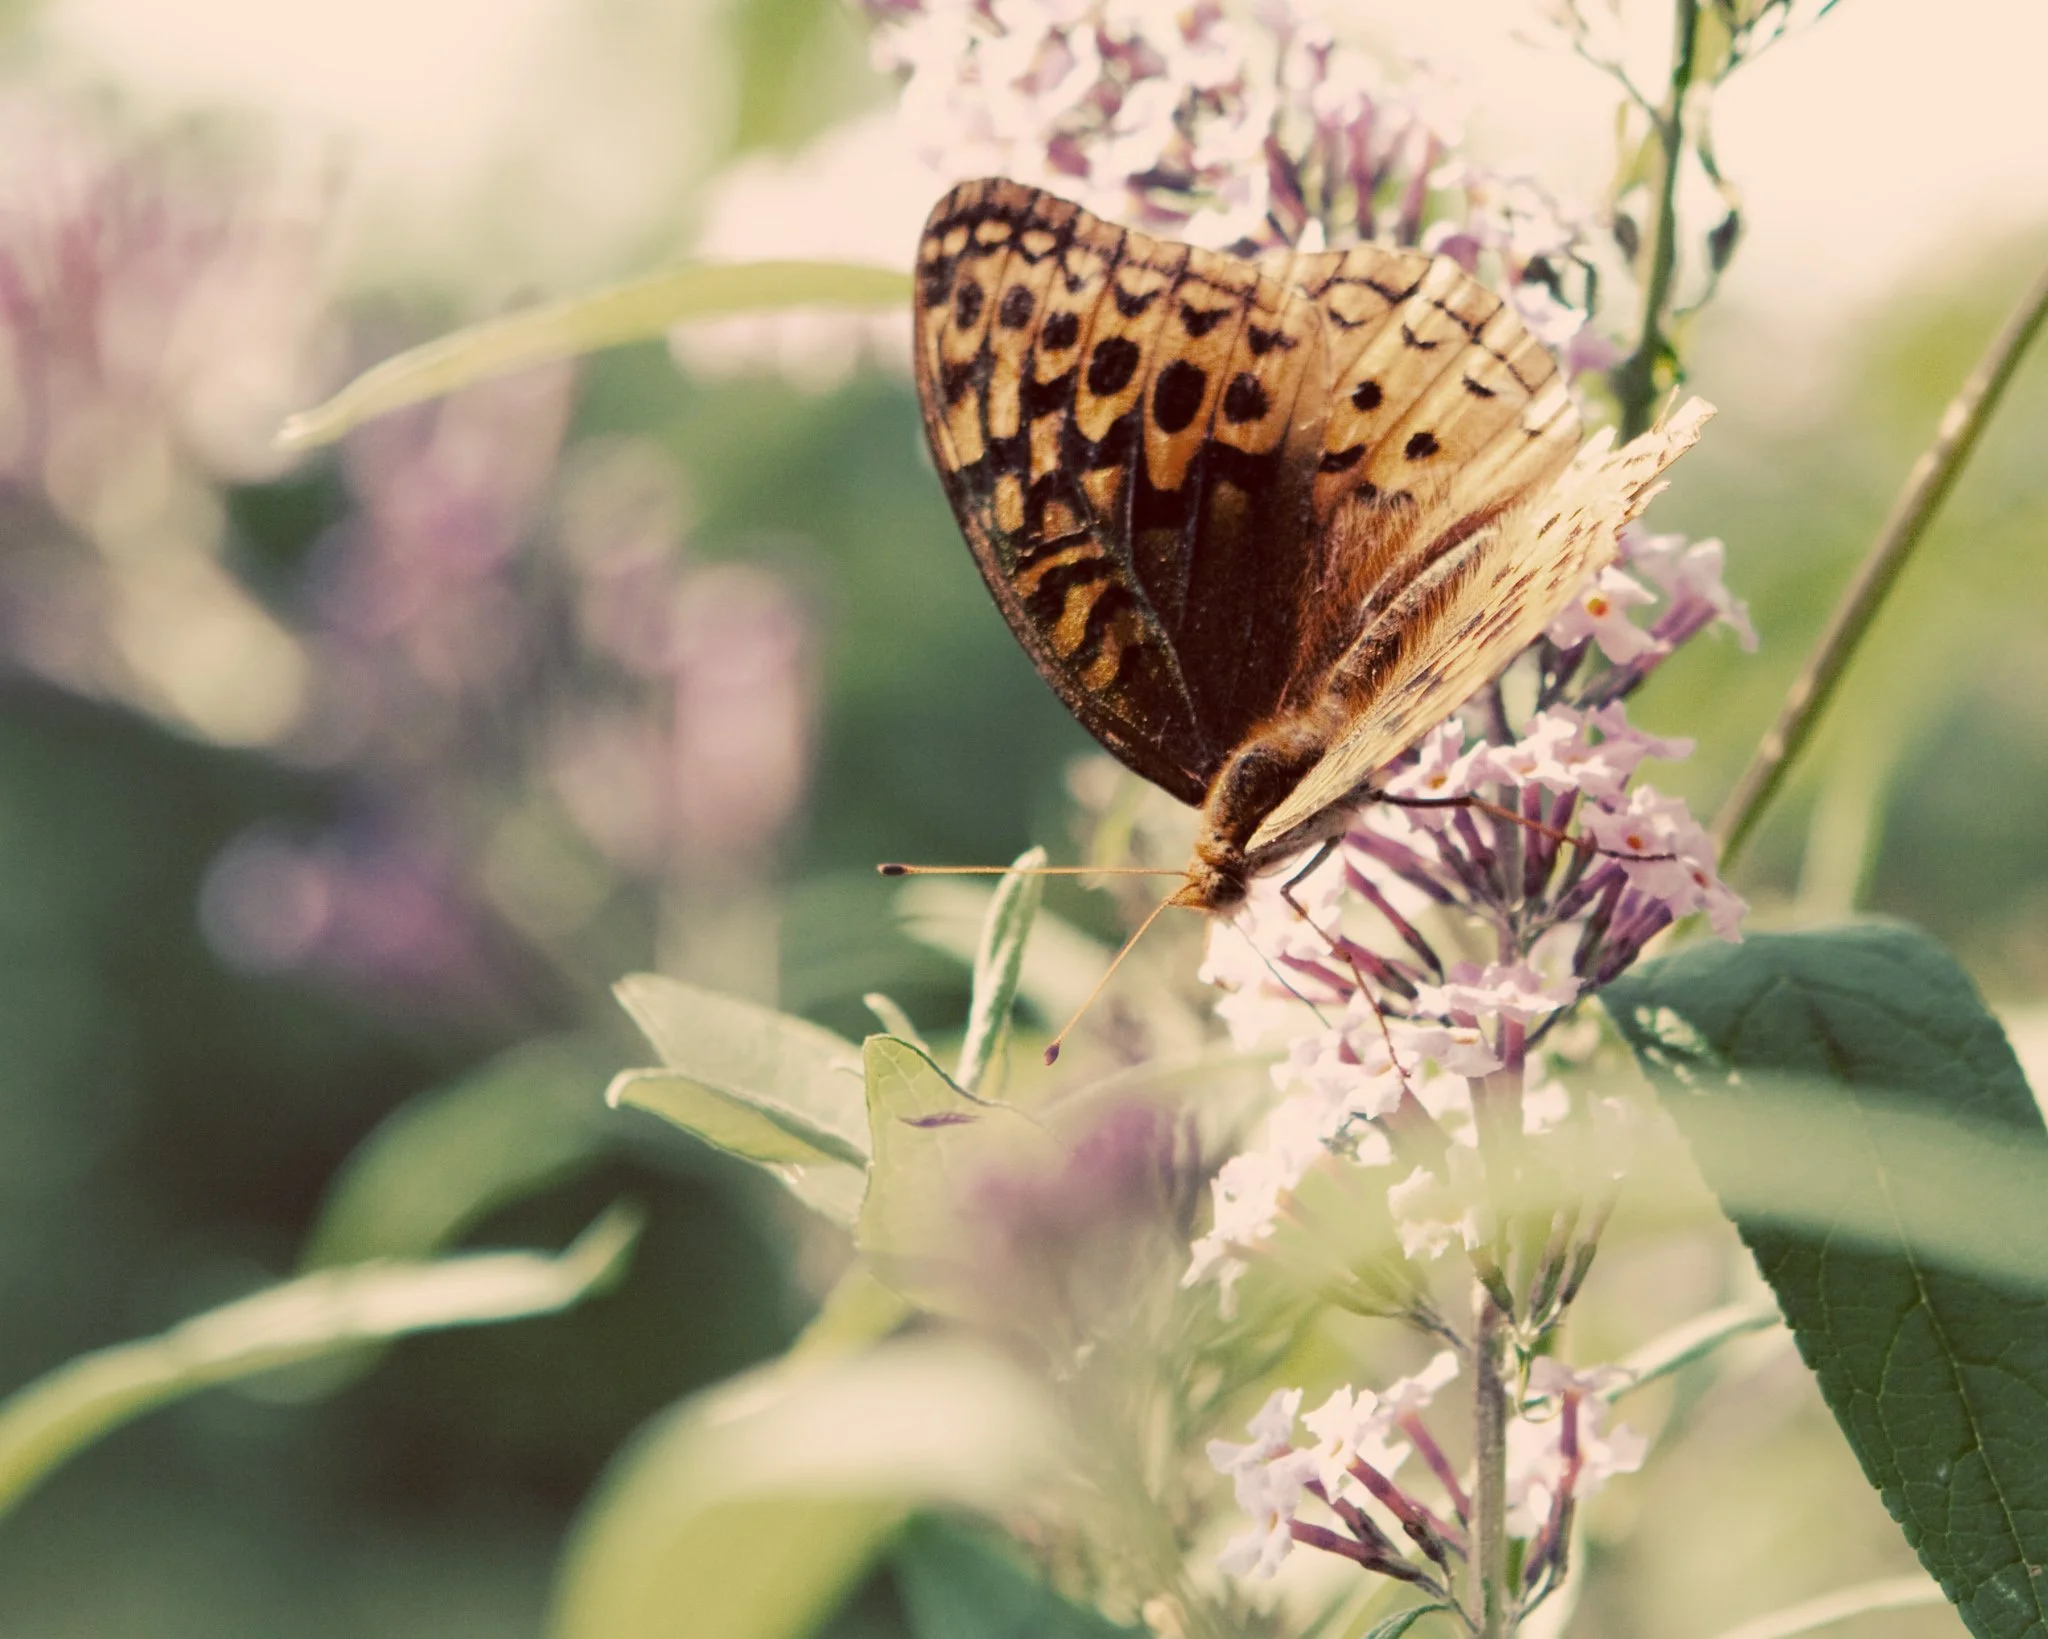
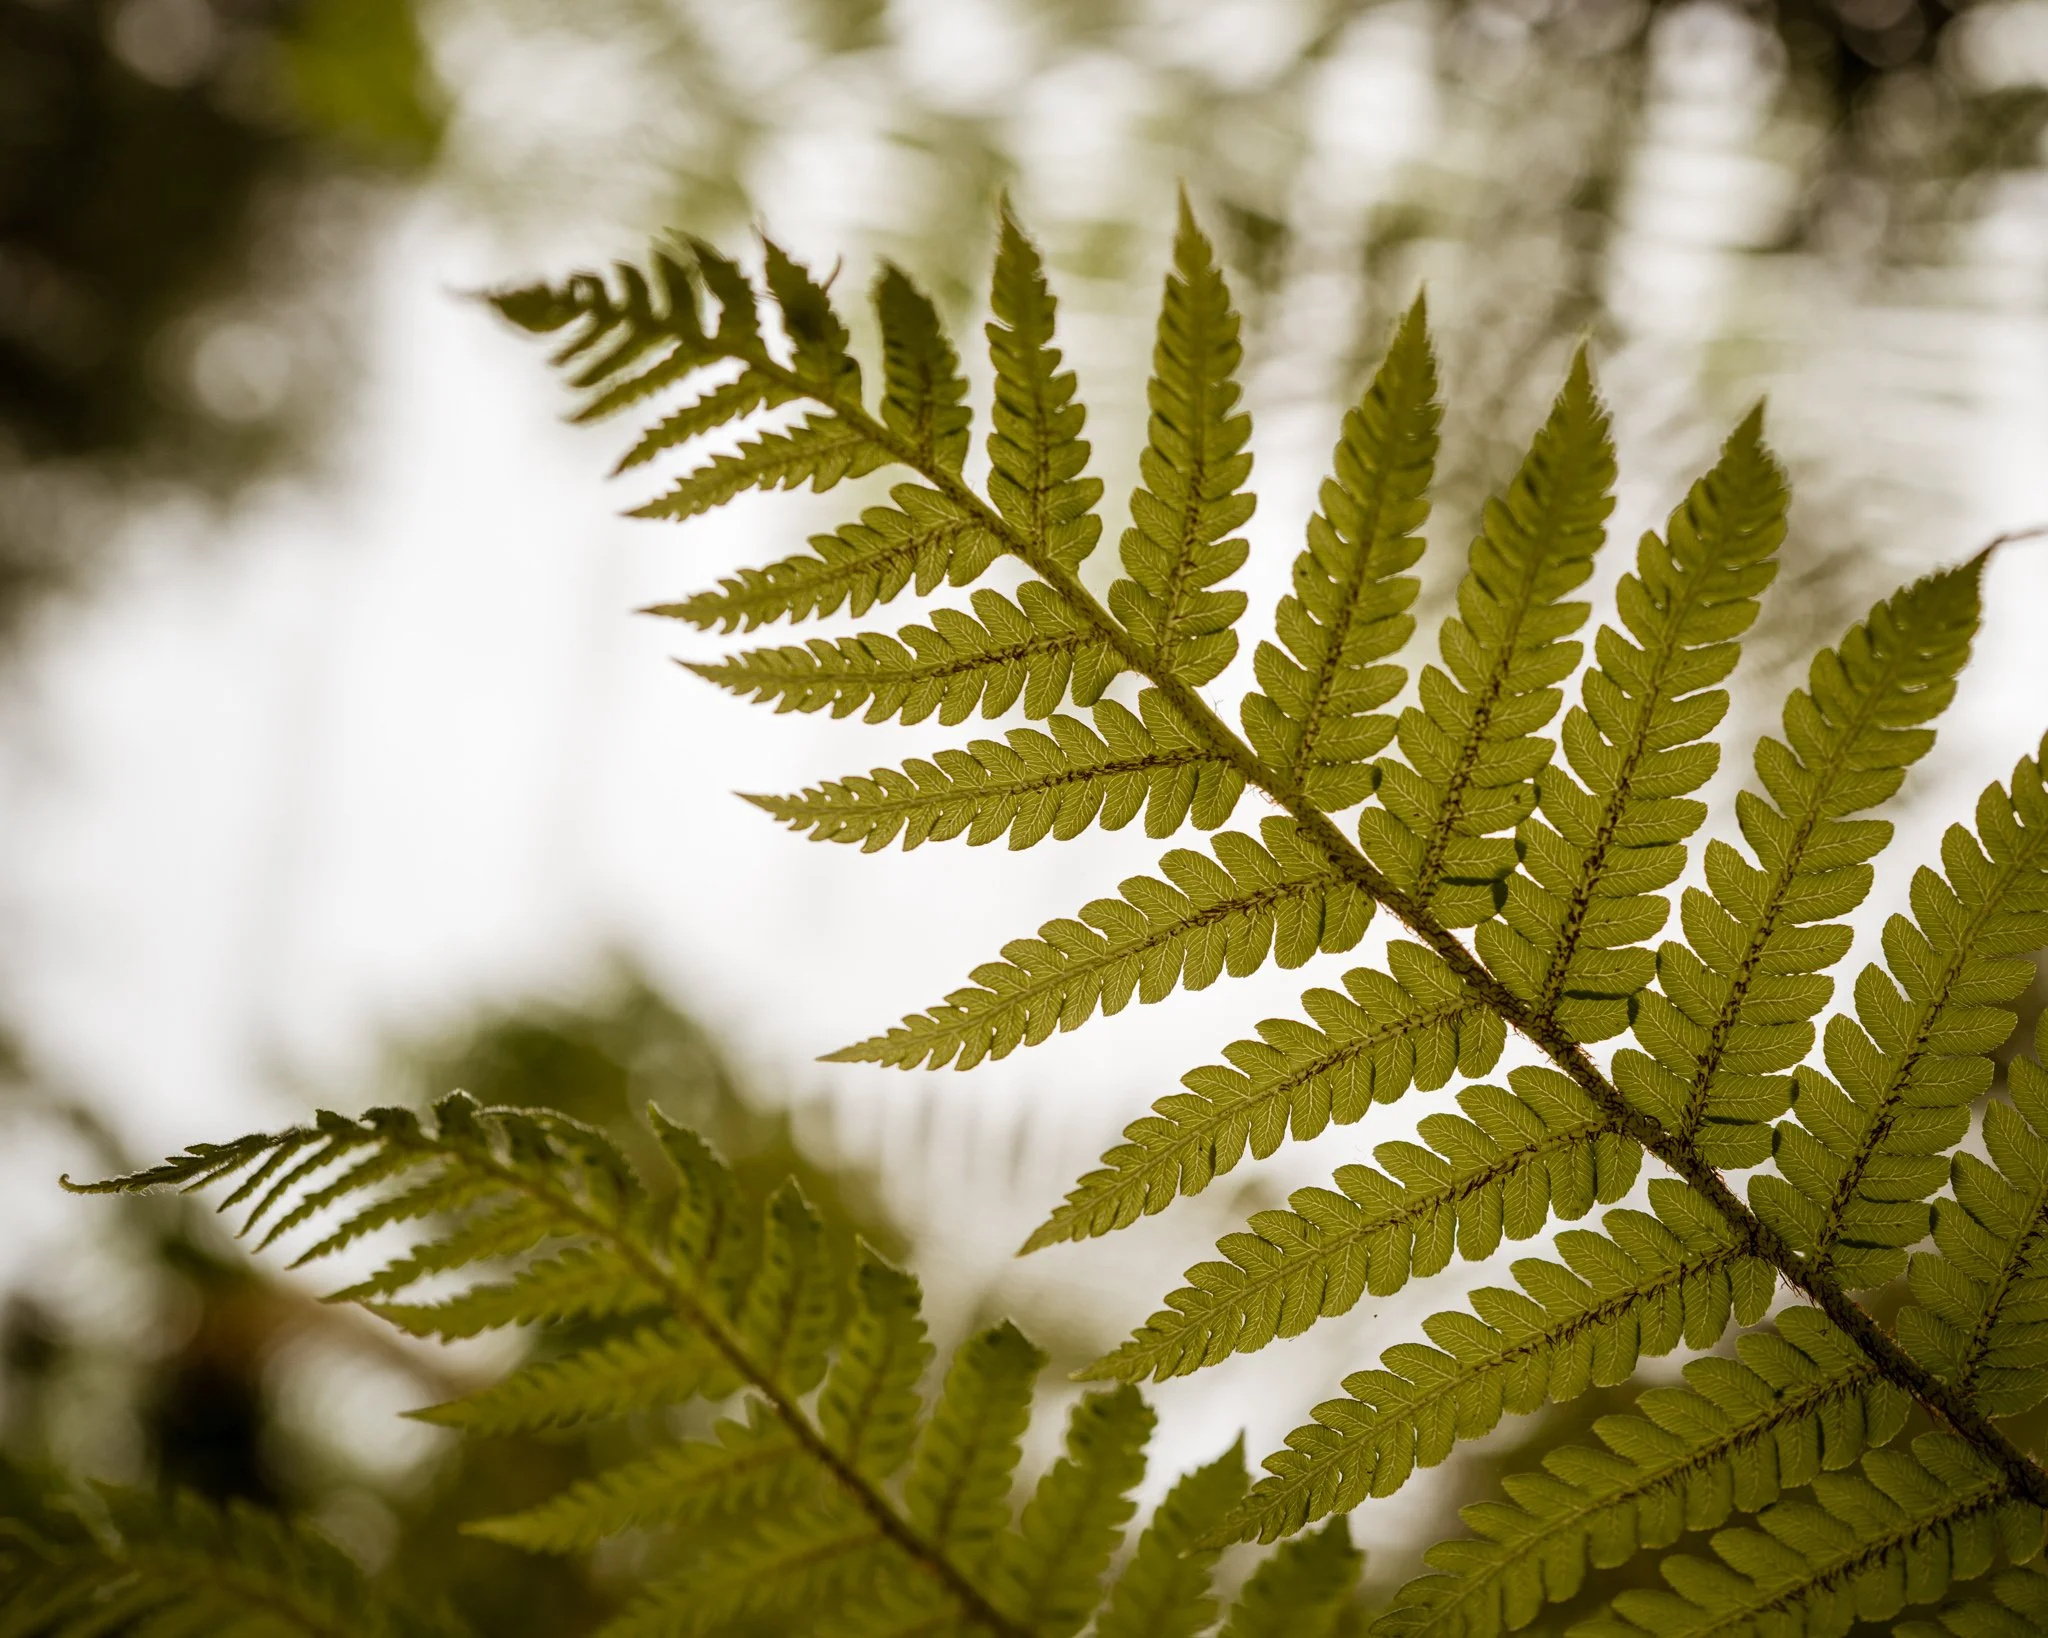
Macro photography has a way of completely changing how you see the world. Tiny subjects feel huge, textures jump out, and we see everyday objects in a whole new light. For nature enthusiasts it brings you closer (literally) to the subjects you enjoy photographing. For beginners macro is opens up a new world of subjects and forces you to really pay attention to the mechanics of focus and aperture. And for everyone, macro provides a plentitude of subjects on days where inspiration is just a bit lacking. If you’ve ever wanted to try macro photography but felt overwhelmed by the technical stuff, and the equipment options then this guide is for you.

Macro photography is about photographing small subjects. Technically speaking, true macro photography is photography where the subject is photographed at a 1:1 (life-size) ratio. A lot of less expensive macro lenses offer something closer to a 1:2 ratio, meaning the subject appears half of life size, which is technically close-up photography rather than “true” macro, but honestly for most people it really doesn’t matter. For the purpose of this article we are going to ignore ratios and simply use macro to refer to close-up photography regardless of the actual ratio.
What Camera do I need for Macro Photography?
Since the ability to focus close to your subject is determined by your lens, not your camera any interchangeable lens camera (DSLR or Mirrorless) is capable of macro photography. If your camera is a “point and shoot” meaning the lens is built into the camera and you can’t change it then it’s still the lens that determines the close focusing ability, but you’ll have to check and see if that camera/lens has close focusing ability since you can’t change it yourself. Your camera might have a “macro” mode (usually a flower icon) but its the lens, not the camera, but it’s still that specifies just how close to life size you can photograph your subject. And a lot of “kit” lenses that have a macro mode aren’t true macro, they just label their closest focusing distance as “macro” regardless of the actual ration, so you need to check the lens specs or just experiment to see if your particular lens is going to let you focus close enough to the subject you are interested in photographing.
What Equipment do I need for Macro Photography?
There are three main options for macro photography: Close-up filters, extension tubes, or dedicated macro lenses.
Close-up Filters ($20-$80)
Close-up filters are basically magnifying glasses that screw onto your camera lens. The biggest advantage is that they are inexpensive. If you are just getting started or not sure if macro photography is for you then this is a good way to test the waters with very minimal investment. They usually come in a kit with varying strength of magnification. You can stack them for even more magnification but be aware that stacking usually leads to a degradation in image quality. The filters will come in varying sizes and you need to buy the filter size that matches the lens diameter of the lens you want to use them on (this should be noted on your lens, usually on the front of the barrel and is likely something like 62, 72, or 77mm).
Pros:
Extremely inexpensive: You can find these for under $20 on amazon. For a little better quality the Hoya or Tiffen brands run $50-$80
Easy to use: You literally just screw them onto the front of your lens.
Lightweight: They’re small and easy to stick in your camera bag
Cons:
Image Quality: The biggest issues are usually a lack of sharpness and chromatic aberration (colored fringing). Better quality filters can help this a bit, but won’t get ride of the issues completely
Auto-Focus might not work: Technically close-up filters don’t stop auto focus from working, but in practical application it can be slow and hunt for focus and you may need to manually focus.
You can only photograph up-close when they are attached: When you are photographing macro with filters on the lens, you can only focus up-close, you have to remove the lens before photographing anything else
You might need a different size filter for each lens you want to use: If you only use one lens for your up-close work this isn’t a huge issue. My recommendation is to choose a set that fits your normal, mid-length lenses (50-70ish).
Extension Tubes ($100-250)
Extension tubes are a really nice middle ground when it comes to macro photography. They are more expensive than close-up filters but still significantly less expensive than a dedicated macro lens. Extension tubes attach to your camera behind the lens and then you attach your lens to the tube. There is no glass element, its literally just a tube that moves your lens farther from the sensor so that it can focus closer to the subject. They often come in a few lengths, with longer extension tubes giving you more magnification. Don’t assume longer is better though, depending on the lens you are using you might find a shorter tube easier to use, sometimes the working distance becomes so small with a longer tube it can be harder to use, and it won’t work with some lenses.
Pros:
Won’t degrade Image Quality: Because there is no glass in the extension tube you won’t see a degradation in image quality like you will with close-up filters
One works with multiple lenses: The extension tube is designed to fit your lens mount, so you can just change out which lens you have mounted on it. Changing and even zooming the lens you have attached to an extension tube will change the level of magnification, and this can be a lot of fun to experiment with.
Auto-Focus works: As long as you make sure to purchase extension tubes that have the electronic contacts that allow for autofocus (check the specs) it should work much more reliably than with close-up filters. For best focusing use the extension tubes made by your camera manufacturer but some third-party versions (Viltrox. Kenko, and Fotodiox are common) are less expensive and have a good reputation.
Relatively small:I love photographing macro and have some nice, dedicated macro lenses. But when I’m traveling I almost always pack extension tubes instead. They take up a lot less room in my bag than an extra lens
Cons:
Light Loss: Because of the extra distance light has to travel to hit the senor. you effectively lose some light when photographing with an extension tube. It’s not a huge amount but it’s enough that you might need to compensate more than you want in low light conditions.
Slightly less convenient: Similar to close-up filters (although not quite as restrictive) when you have extension tubes on your ability to focus on larger, farther away subjects is limited. This can make for a lack of flexibility when changing between subjects. And unlike close-up filters you have to actually remove the lens from the camera to remove the extension tube, which especially when using mirrorless cameras is an opportunity to introduce dust and dirt onto the sensor if you aren’t careful.
Macro Lenses ($500+ Maybe less if you can find a good used deal)
Macro lenses are the holy grail of macro photography options, with the price tag to match. A true macro lens (1:1) is going to be a prime lens not a zoom. The most popular macro focal lengths are usually in the 80-110 range. Image quality is unparalleled but the drawback is obviously price. If you really want to get into macro photography and are willing to sacrifice autofocus you might find a good deal on an older macro lens that still fits your camera (double check that the lens mount is compatible).
Pros:
Best Image Quality: These lenses are designed specifically for close-up work, with the image quality and sharpness to match
Best Auto-focus: Again, this is what they’re designed for, and there is no extra glass or extra electronic contacts to deal with
You have the full focus range available:While it might be designed for photographing up close, a macro lens doesn’t have to photograph macro. It’s still an 80 or 90 or whatever focal length prime lens. When you are out in the field photographing you can easily switch between photographing grasshoppers and ducks (or flowers and forests or any other range of subjects) without having to remove any adapters or filters.
Cons:
Price: A good macro lens doesn’t come cheap.
Size: Since they’re prime lenses macro lenses usually aren’t huge and heavy, but they’re a lot bigger than extension tubes or close-up filters. Like I mentioned above, if I’m traveling and don’t have a plan to specifically do some dedicated macro shooting, extension tubes are much smaller to bring along “just in case” than another lens.
Macro Photography Q&A
What is the difference between focal lengths? How is a 60mm macro lens different from a 90mm macro lens?
The focal length of the lens won’t affect the size of the subject (a 1:1 is a 1:1 regardless of focal length) instead it affects how close you have to be to your subject to photograph them life size. The 80-110mm range tends to give you a nice working distance. (for example Fujifilm makes a 30mm macro and a 80mm macro, the 30mm requires you to be 10cm from your subject for 1:1 while the 80mm gives you 25cm of working distance for the same level of magnification).
Why is it so hard to get everything in focus when shooting macro?
Depth of field (how much of your frame is in focus) is based on 3 things: F/stop, subject distance, and focal length. In close up photography your subject distance is minimal and therefore your depth of field is extremely shallow as well. Depending on the subject you will very likely need to shoot with much smaller apertures (higher f/numbers) than you would expect. But since Depth of Field is so shallow you will still get that “bokeh” and background separation even with a higher f/number.
How do I get my subject in focus when photographing that close?
Because that dept of field is so shallow when photographing up close, focus can be tricky. If auto-focus is struggling you can try adjusting your autofocus point to be as small as your camera allows. And move the autofocus point itself don’t focus and recompose (even the slight camera movement when you recompose your photograph can be enough to change your focus point at those small working distances). Often the easiest way to focus on macro subjects is to turn autofocus off then move yourself or the camera closer and farther from the subject to focus (it often just takes a slight rocking motion to adjust focus).
If you are using a DSLR try using the live view function (if available). Often times its easier to focus when you can see your subject on the LCD rather than the viewfinder and you get a better idea of how shallow the Depth of Field actually is. After taking a photo, zoom into 100% on the LCD to check your focus.
What sort of light do I need for macro photgoraphy?
All photography is about light and macro is no exception. But since you are dealing with small apertures (large f/stop) and close subjects it comes with the added challenge of figuring out how to get enough light on your subject. When photographing outdoors the best light for macro is often an overcast day. The smooth flat lighting means you can photograph at mid-day when there is plenty of light, without needing to fight harsh shadows and bright highlights. (The type of light that’s best for macro subjects is often light that is a little bit boring for larger landscape subjects).
Indoors the easiest way to get enough light is to get the subject as close to a window as possible. But since your subjects are small, light sources such as table lamps or flashlights, that would be too small to work well for “regular sized” subjects are often large enough to give you nice, soft, even light on a macro subject. Just make sure to position your light source so that you get a nice spread of light and maybe add a diffuser for softness (a plain piece of white paper or fabric between the light source and the subject work well). For a slightly more expensive, but super easy to use option look at the Lume Cube mini LED panels. If you find yourself photographing a lot of macro, these lights can save you a lot of time and hassle for less than $100.
Final Thoughts:
Macro photography can be super rewarding. Once you get started, you’ll find that you start to notice the small details and patterns in the world that most people overlook. Because macro photography is so precise it will teach you to pay attention to your settings (especially focus and f/stop) and that precision will carry over into other genres of photography. Don’t wait until you can buy an expensive lens to get started. While the close-up filters and extension tubes might have some trade-offs. they open up the world of macro photography at relatively inexpensive prices and that is invaluable.


